Satellite EC Upgrade Kit
Convert your Satellite to EC (Electro-Capacitive) with our simple upgrade kit.
This is our first EC PCB, available to drop into our Satellite Keyboard. This EC Update kit will include everything you need to convert your existing Satellite keyboard from MX to EC.
This is our first revision, you can find the second revision as 'Constellation EC', which loses 7U bottom row support.
Bundle Discount
Discounted to $150 while stocks last. After which, we will be using the current Constellation EC PCB. This is compatible with the Satellite case but does not support 7U bottom row.
What's Included
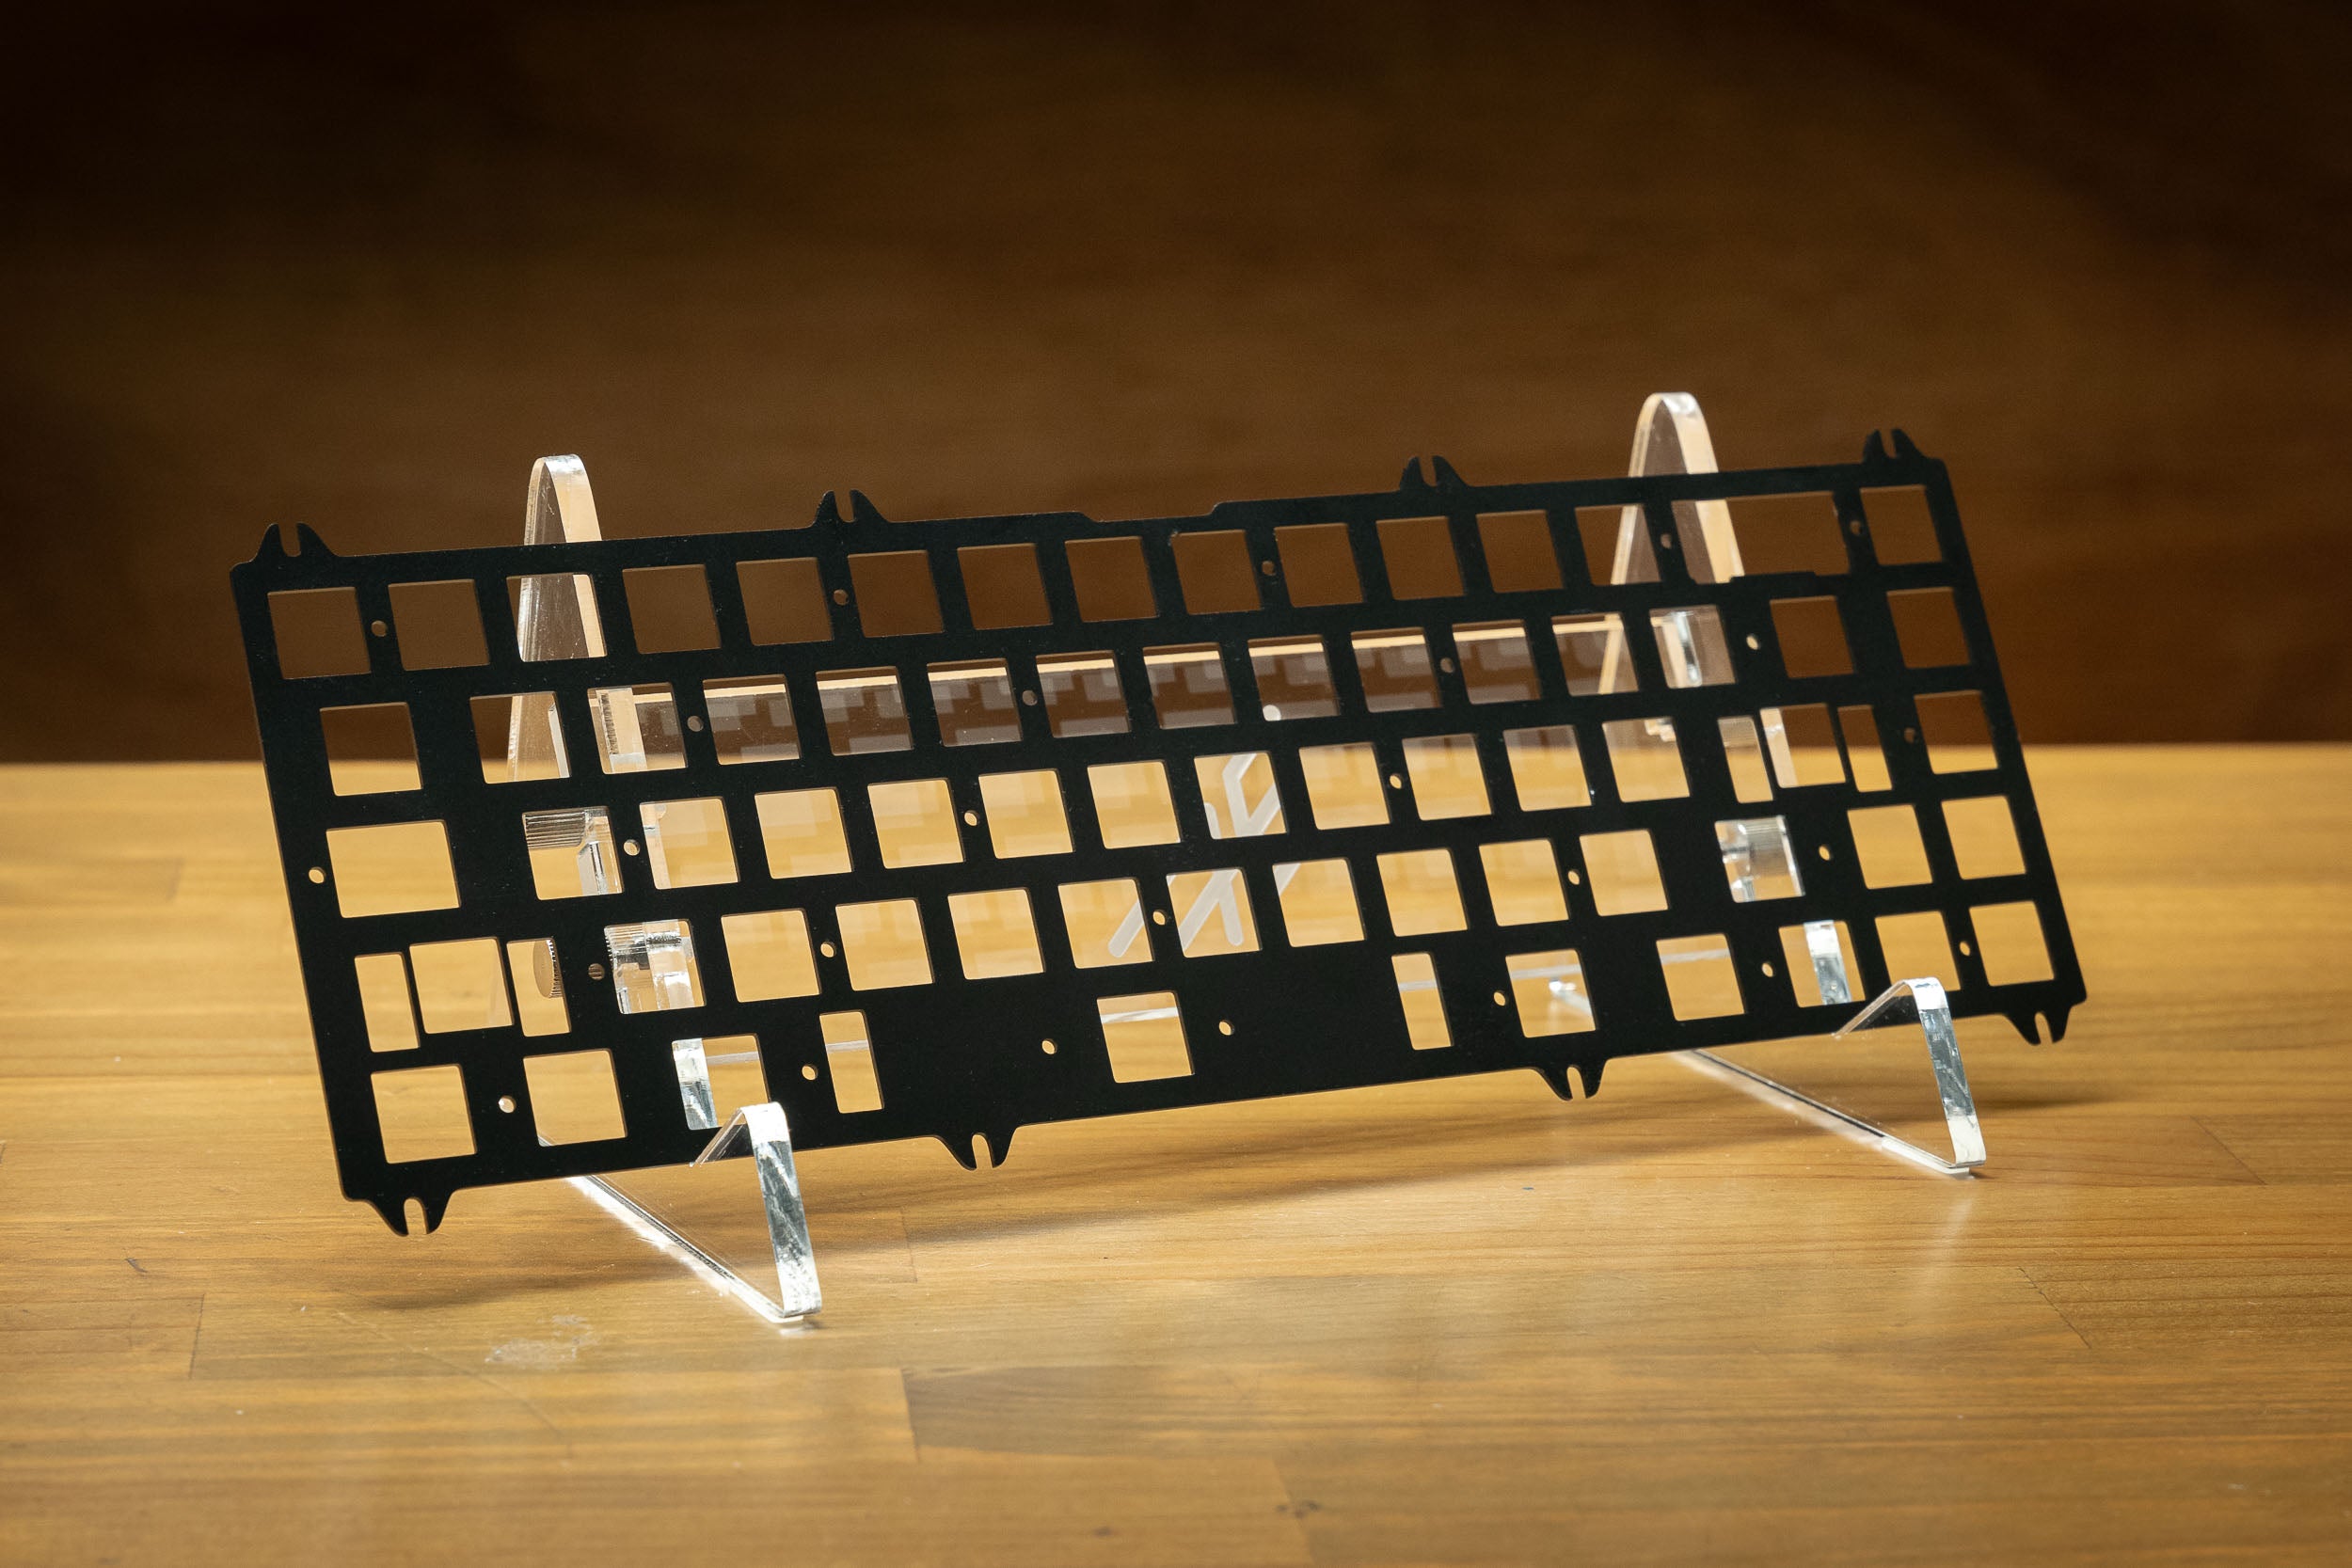
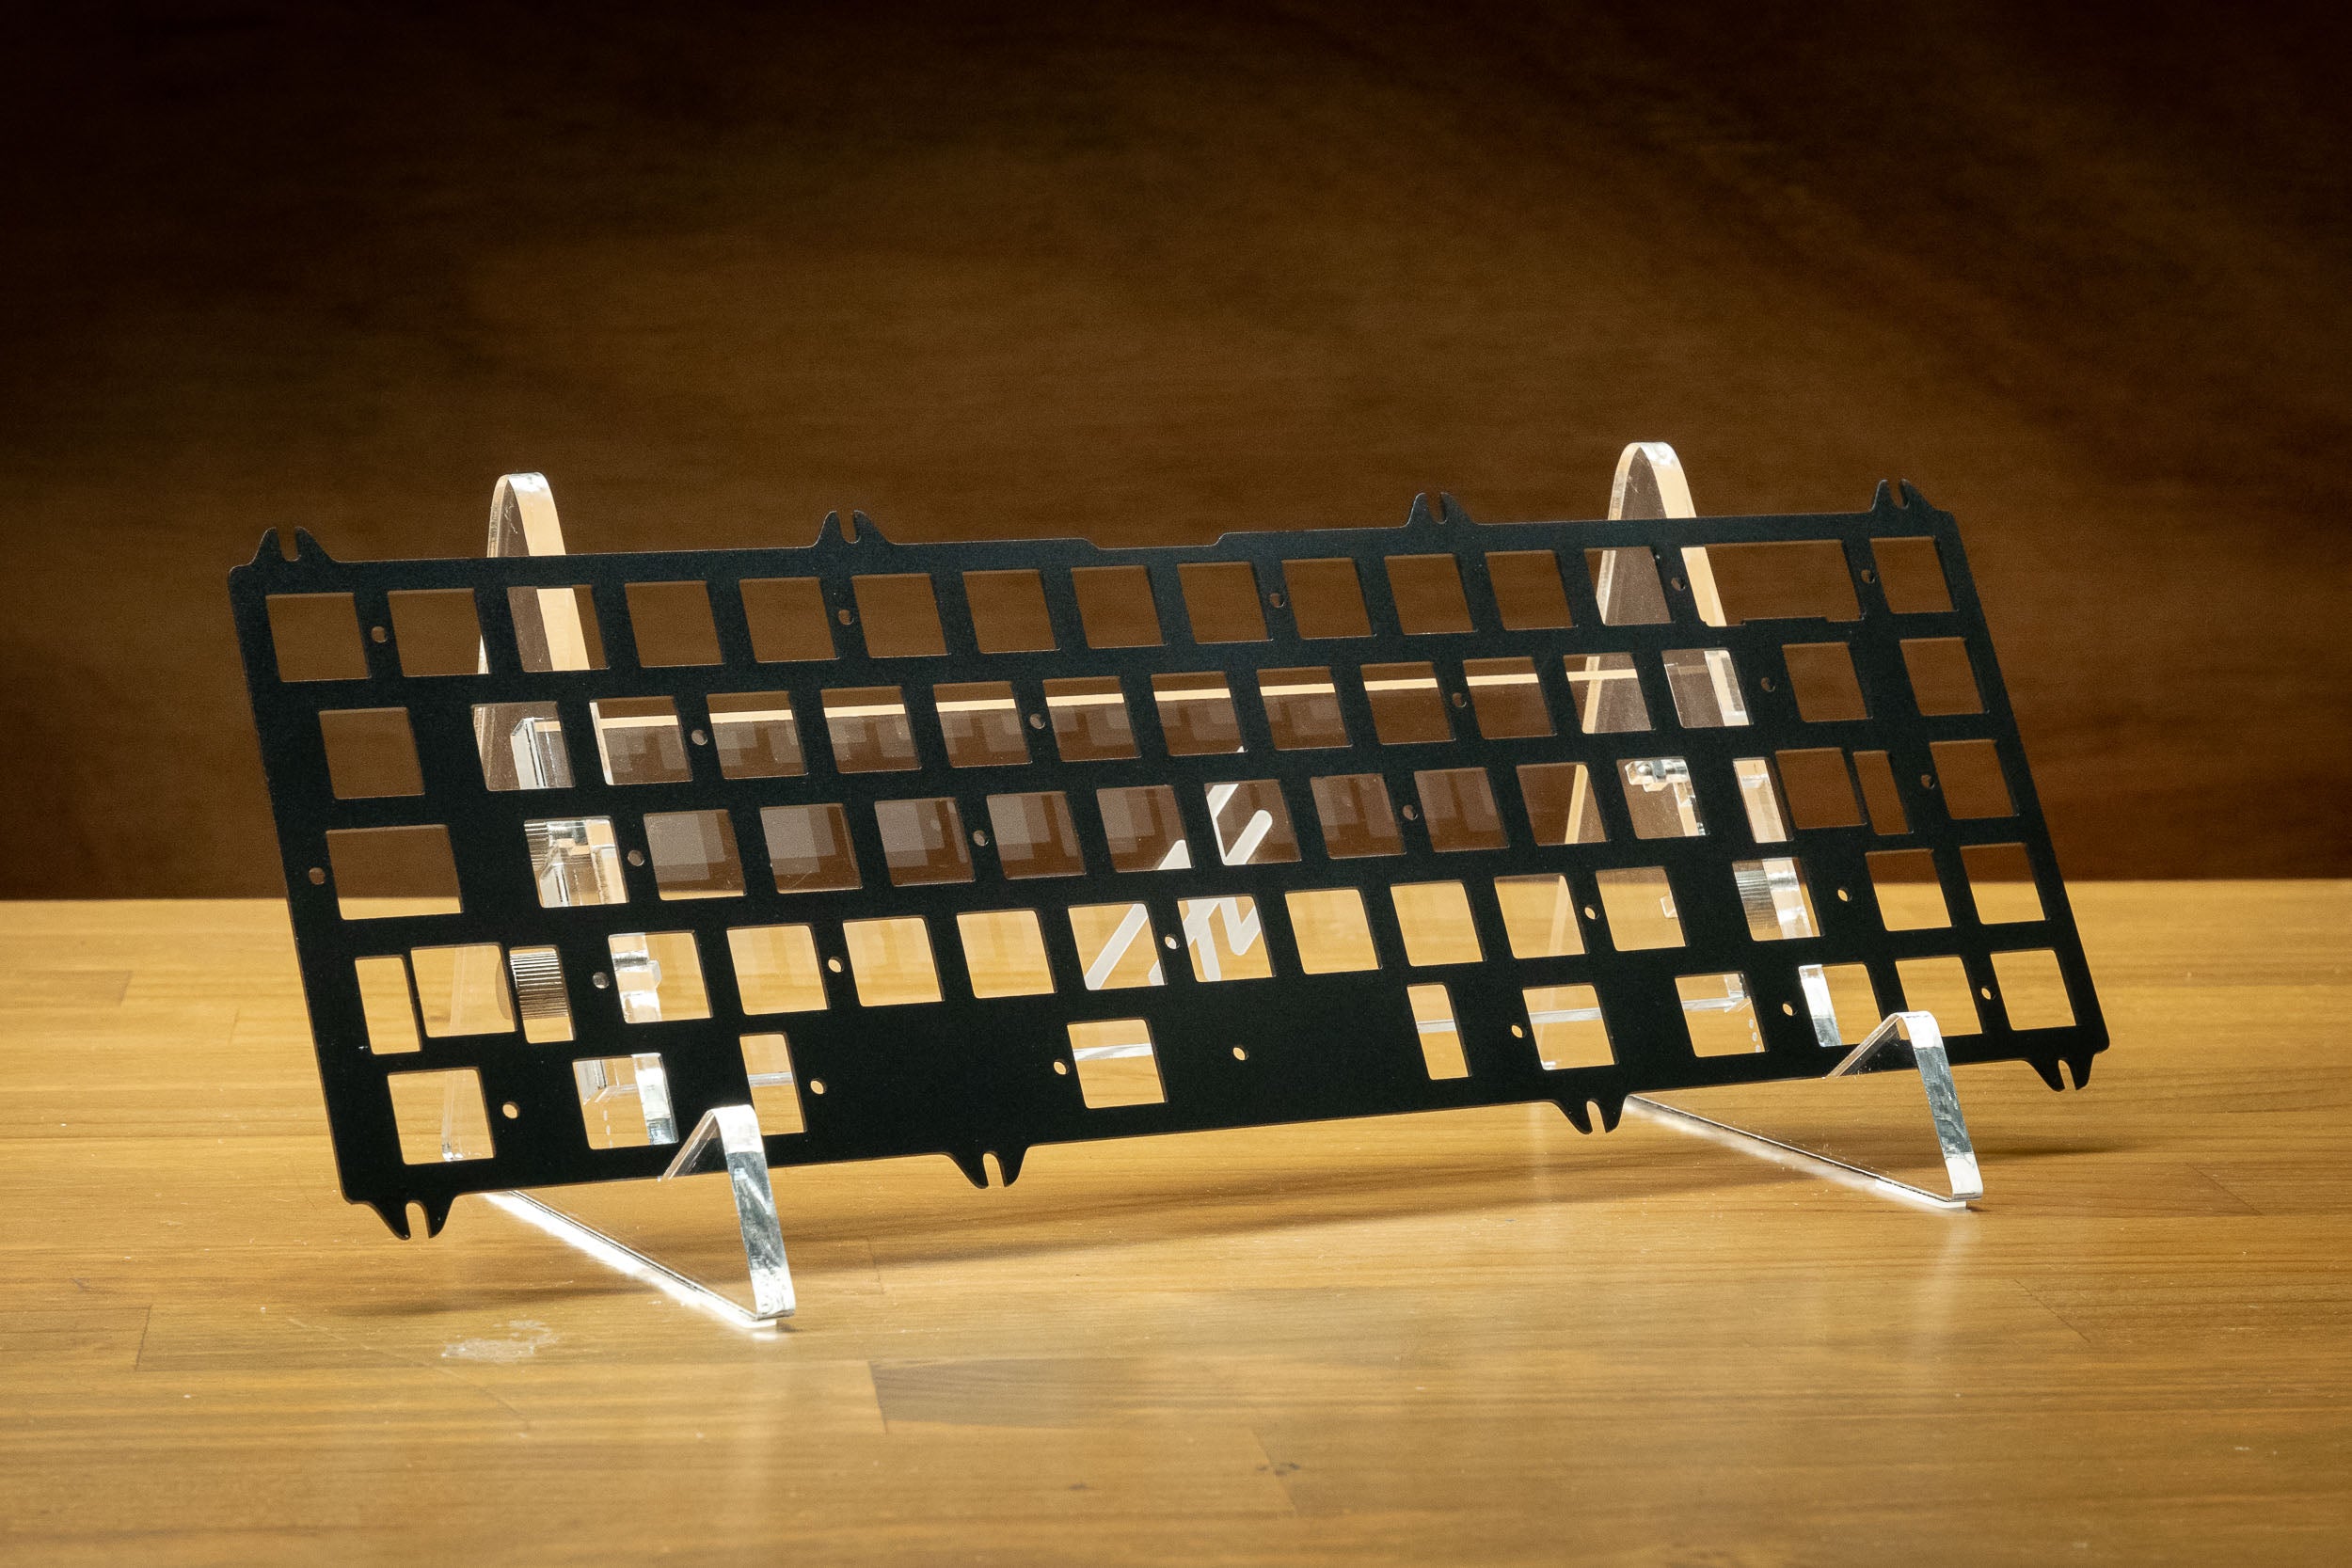
- Satellite EC PCB
- Choice of either 6.25U of 7U plate
- PCB screws, plate screws, standoffs
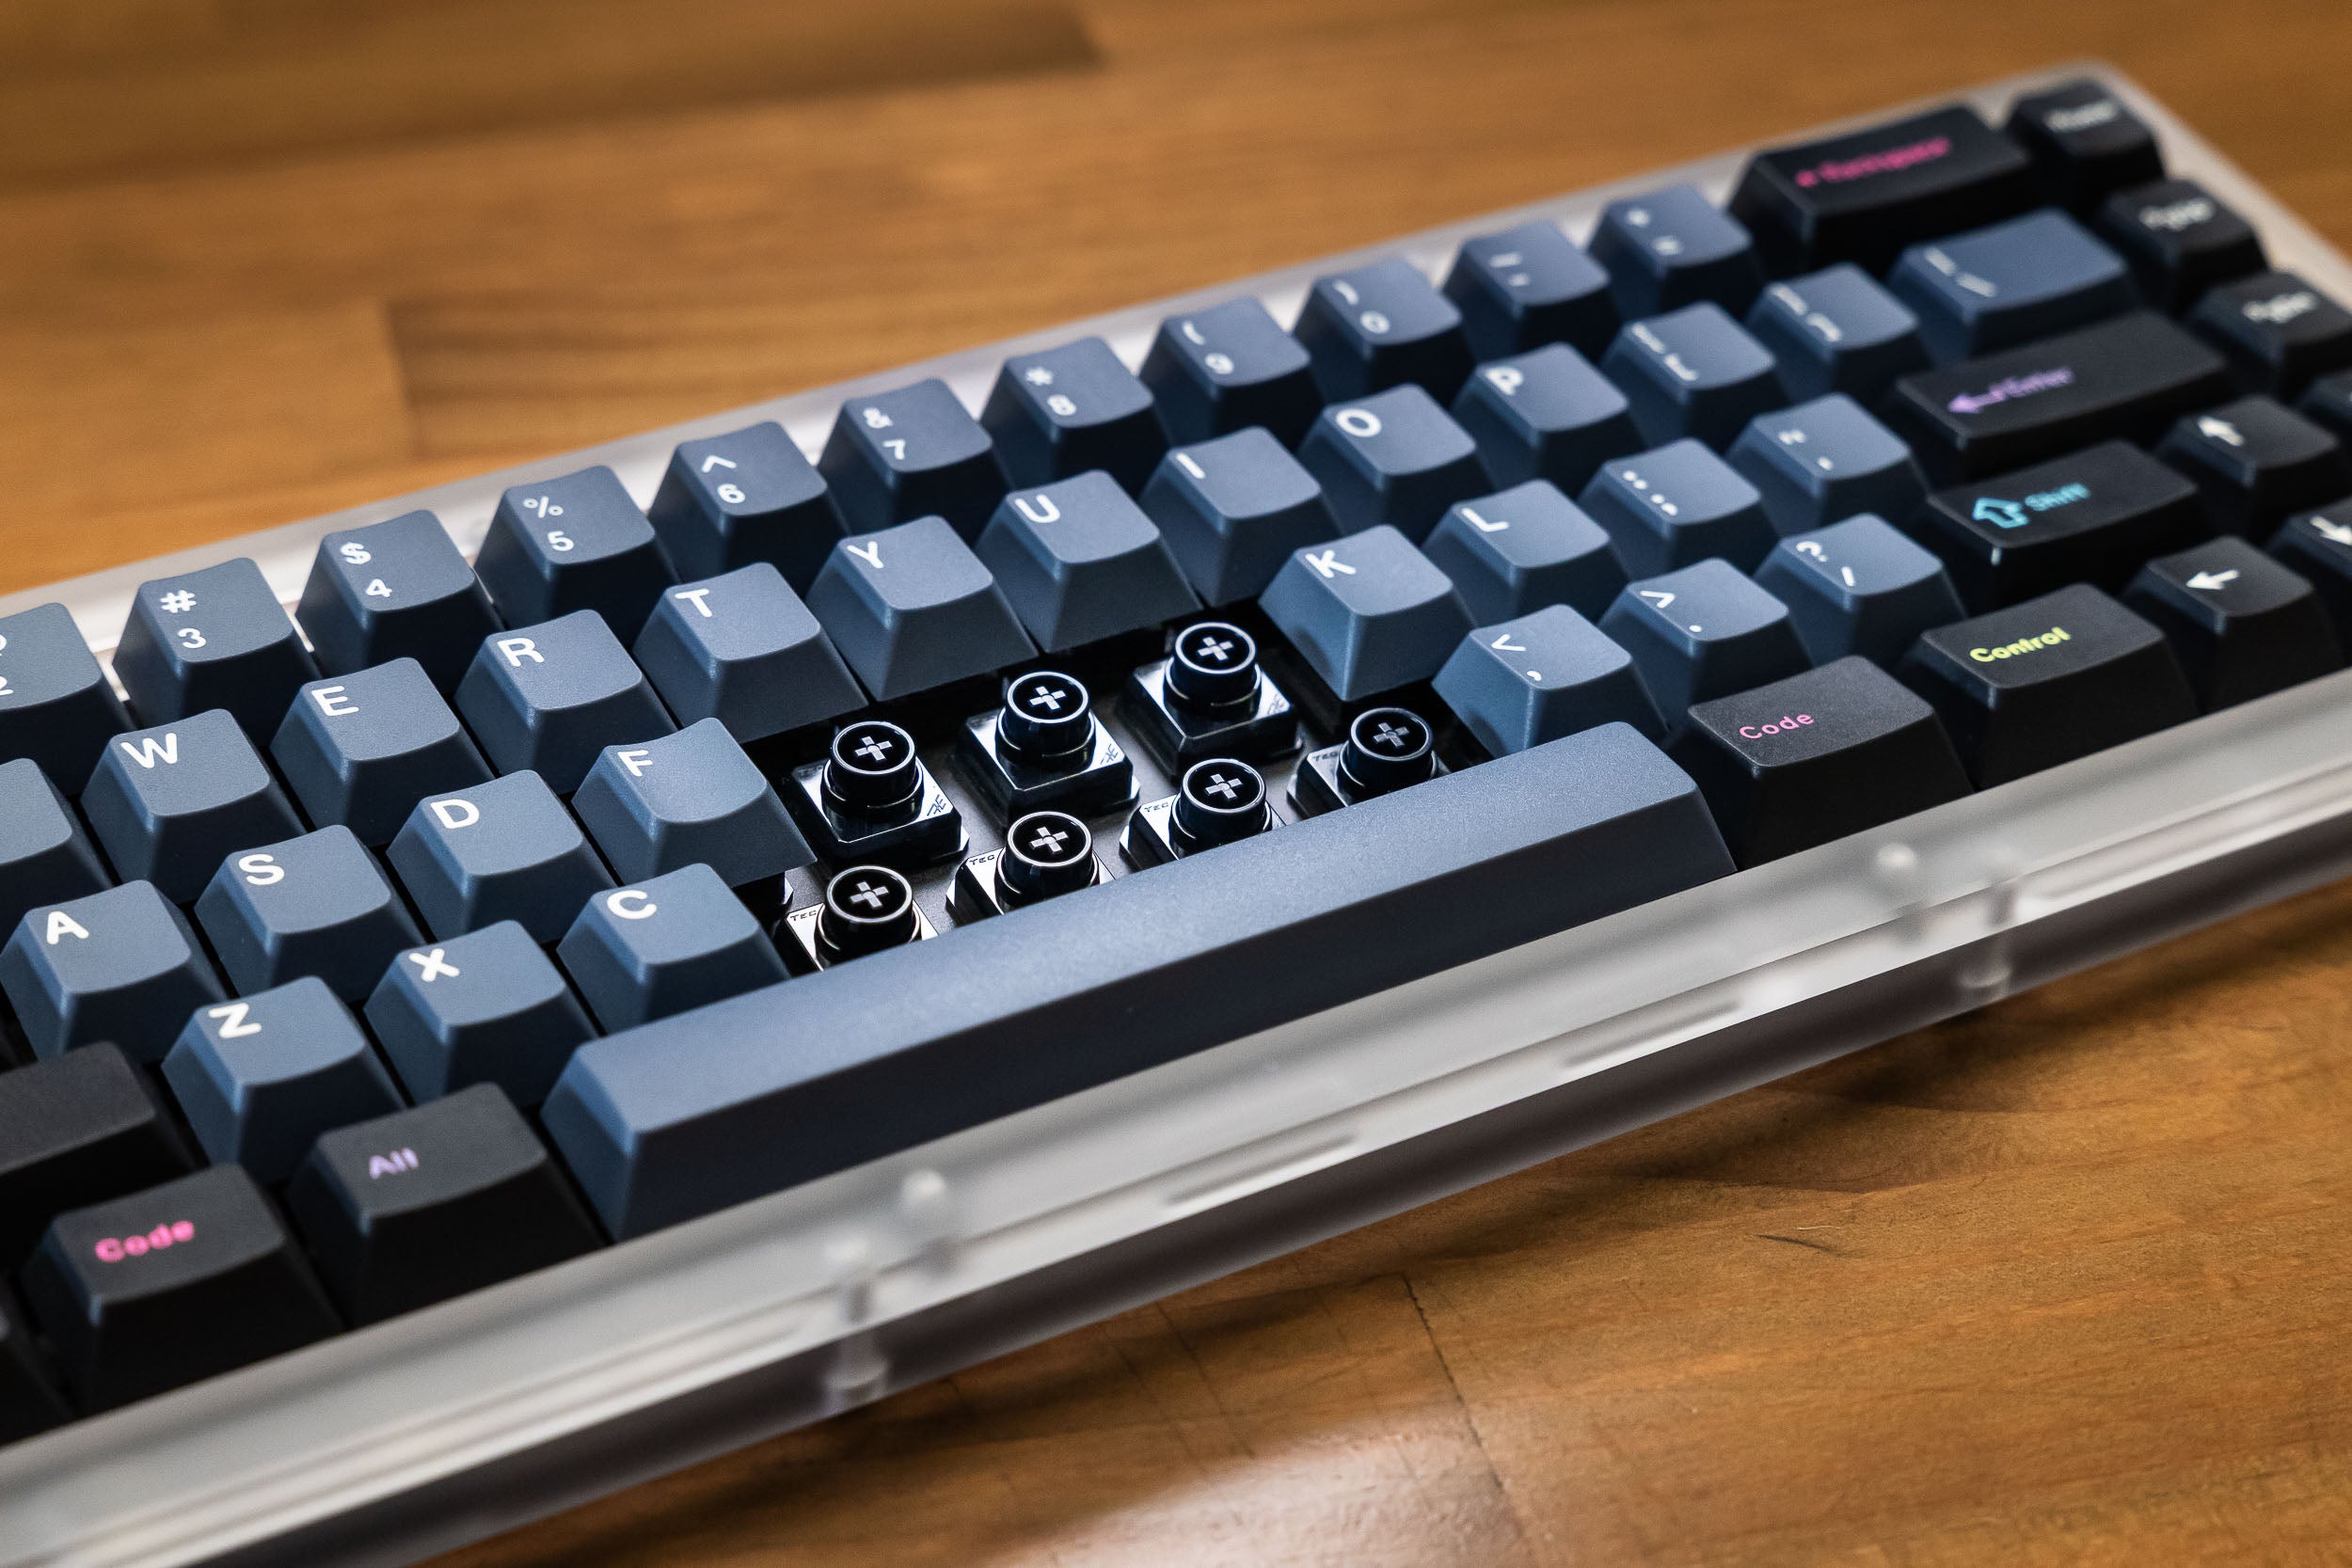
- 2x Naevies EC (70 switches total)
Notes
- If you are using this kit with an existing Satellite case, you will need Staebies or spare set of stabilisers to complete the build.
- This PCB does not work in the Constellation case.
- Split backspace, and multiple bottom row support in VIA.
Differences Between Satellite EC and Constellation EC
The Satellite EC Upgrade Kit and Full Kit listings contain the first iteration of the Constellation EC PCB. It had a fitment issue preventing it from working in the Constellation case, so we decided to launch this product as the Satellite EC.
Any listing with Constellation EC in the name carries the second revision, which has cutouts to fit in the case. The only other change is having to give up 7U bottom row layout, which is available on the first revision.
If you want a 7U bottom row, then you will need the Satellite EC, which can only be used with the Satellite case.
Layout Options
After you've launched VIA and authorised the keyboard, click on the second icon on the far left called Layouts.
Here you can toggle regular and split backspace, and choose from 3 bottom layouts.

%20with%20our%20simple%20upgrade%20kit.%20This%20is%20our%20first...)
Build Instructions
See Lightning's comprehensive build guide on his website.
No soldering is required, only a screwdriver. Included are 2 bags of screws (one set for PCB, one set for plate) and 1 bag of brass standoffs.
- Install stabilisers onto the EC PCB - ensure you have the correct plate for a 6.25u or 7u layout.
- Install standoffs to the PCB using PCB screws.
- Place the plate on the stand offs, and screw in with plate screws.
- Insert Naevies EC switches into the plate.
- Calibrate the PCB with VIA (caniusevia.com). Here is a guide from the designer Cipulot - https://youtu.be/
Q4fDkv0Z1bM
Satellite EC Upgrade Kit